After the ESP32 development environment was set up. Now we can run some sample code. There are a lot of sample code in Arduino IDE.

The Arduino IDE will open the sample code.
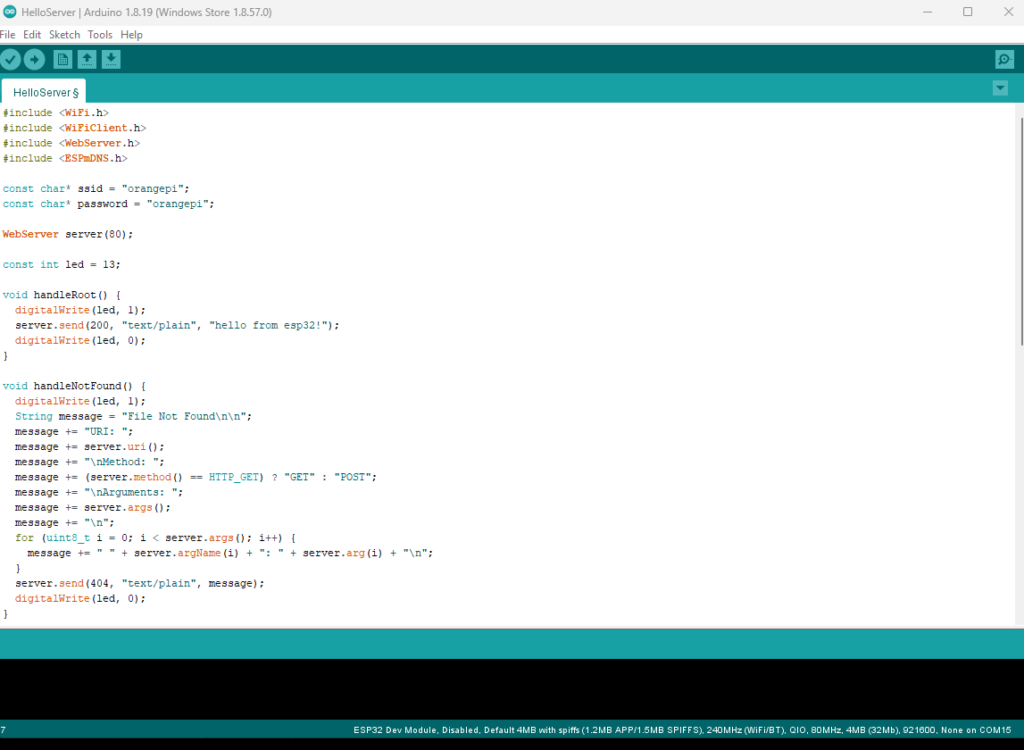
Change the ssid and password to connect with Wifi.
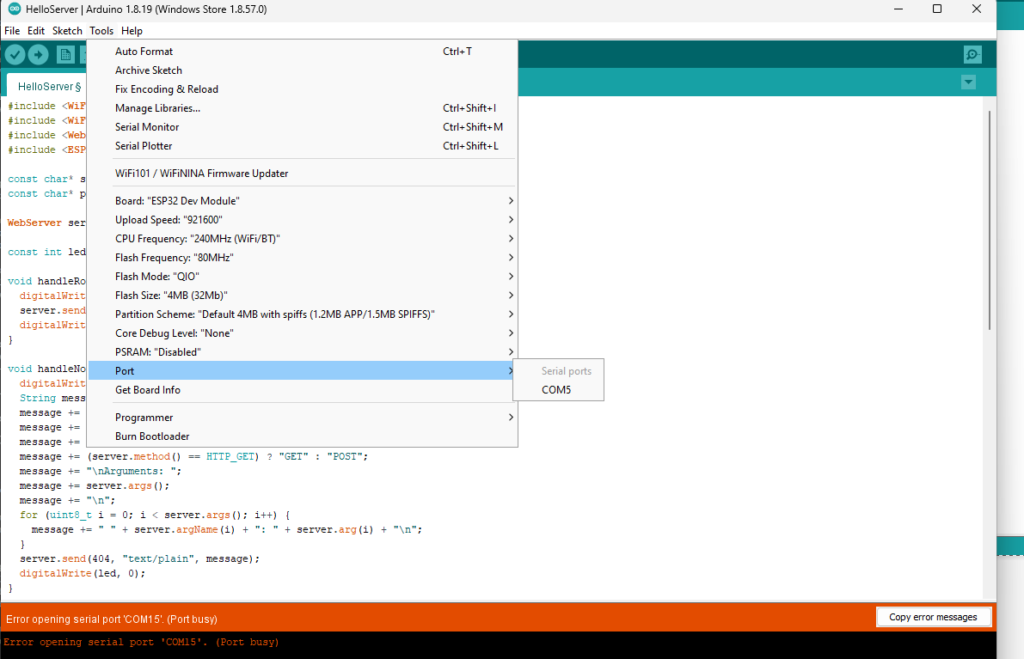
Then you need select port. After connected the ESP32 to PC, it will show up in Port
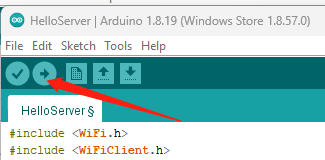
Click the upload button to run the code in ESP32.
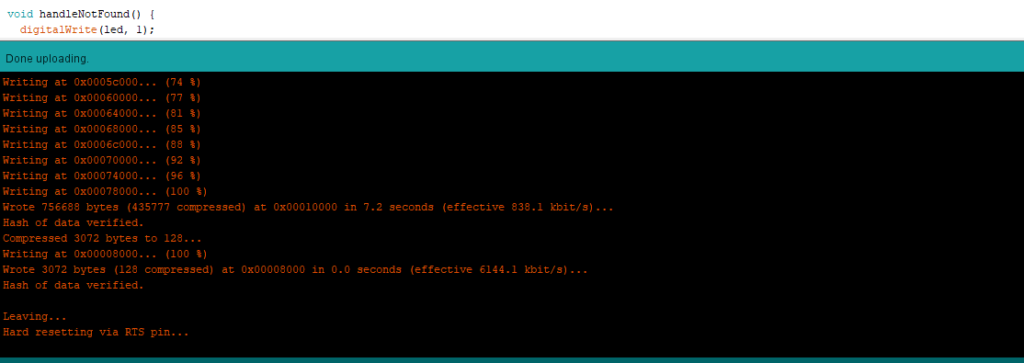
after it done, it will show something like this.
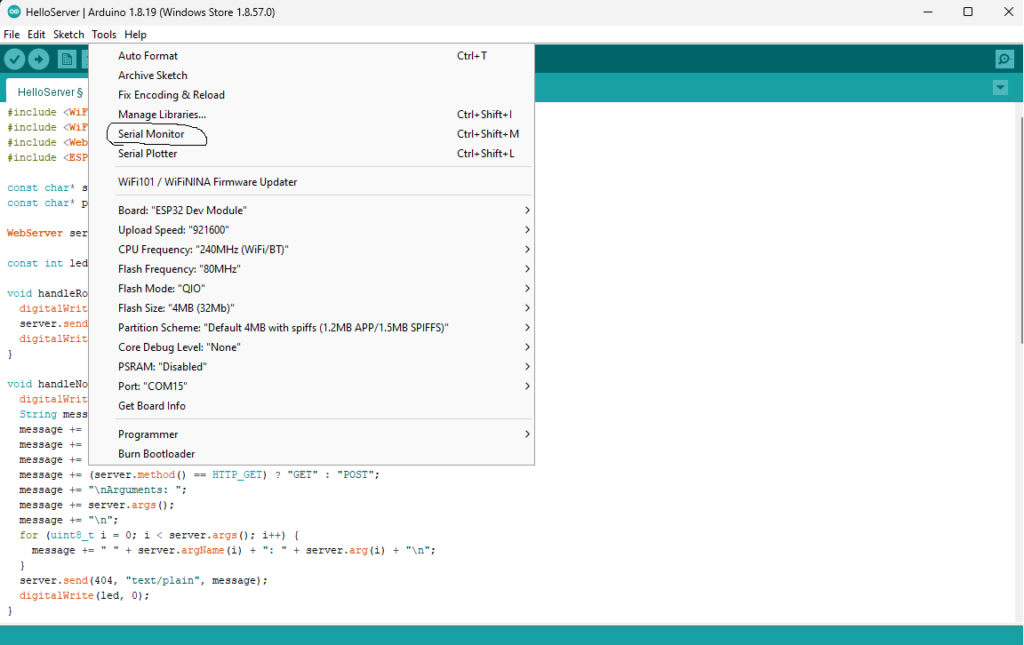
Open “Serial Monitor”
The Arduino IDE Serial Monitor is a built-in tool in the Arduino development environment that allows you to communicate with and monitor the output of an Arduino board or other microcontroller over a serial connection. It’s a valuable tool for debugging, testing, and interacting with your Arduino projects.
it will show ip address,
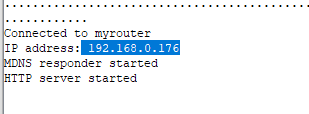
open a browser and type the ip address there
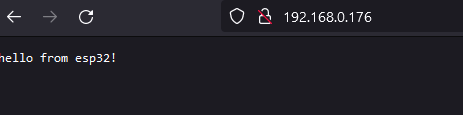
Nice